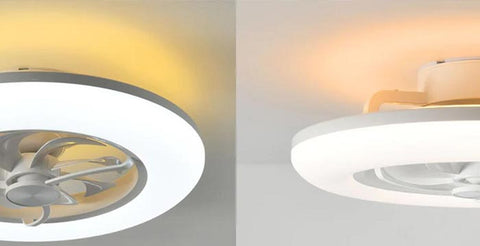
Connecting a ceiling fan with only a black and white wire to a ceiling junction box with black, white, and red wires can be done, but it's important to proceed with caution and follow safety guidelines. Here's how you can do it:
1. Turn off the Power:
Before you start working on any electrical connections, turn off the power to the circuit at the breaker box to ensure your safety.
2. Identify the Wires:
In the ceiling junction box, you should have a black (hot), white (neutral), and red (switched hot) wire. The black wire is typically the live wire, the white wire is neutral, and the red wire is usually used as a switched hot wire for controlling lights or fans with separate switches.
3. Connect the Fan Wires:
Connect the black wire from the fan to the black wire from the ceiling (hot).
Connect the white wire from the fan to the white wire from the ceiling (neutral).
Cap Off the Red Wire: Since your fan does not have a separate control for the red wire, you can cap it off with a wire nut. Make sure it's safely insulated to prevent any accidental contact.
4. Secure Connections:
After connecting the wires, secure them with wire nuts and electrical tape to ensure they don't come loose.
5. Mount the Fan:
Once the connections are secure, follow the manufacturer's instructions to mount the ceiling fan securely to the ceiling.
6. Test the Fan:
After mounting, turn the power back on and test the fan to ensure it's working properly. Use a voltage tester to double-check that the wires are indeed not live before handling them.
Remember, if you're unsure or uncomfortable working with electrical connections, it's always best to consult a licensed electrician for assistance. Safety should always be the top priority when dealing with electricity.


Comentarios (0)
No hay comentarios todavía. Sé el primero en comentar.